Steam can be regarded as a kind of romance, probably.
Today, we will introduce a steam-driven DIY boat. As long as you add water and light a candle, the boiling steam will push the boat forward.
I also made this boat by myself. One thing I need to make clear is that this thing looks very simple, but it is actually a little troublesome to do. Next, I will elaborate on the practice and the problems that need to be paid attention to.
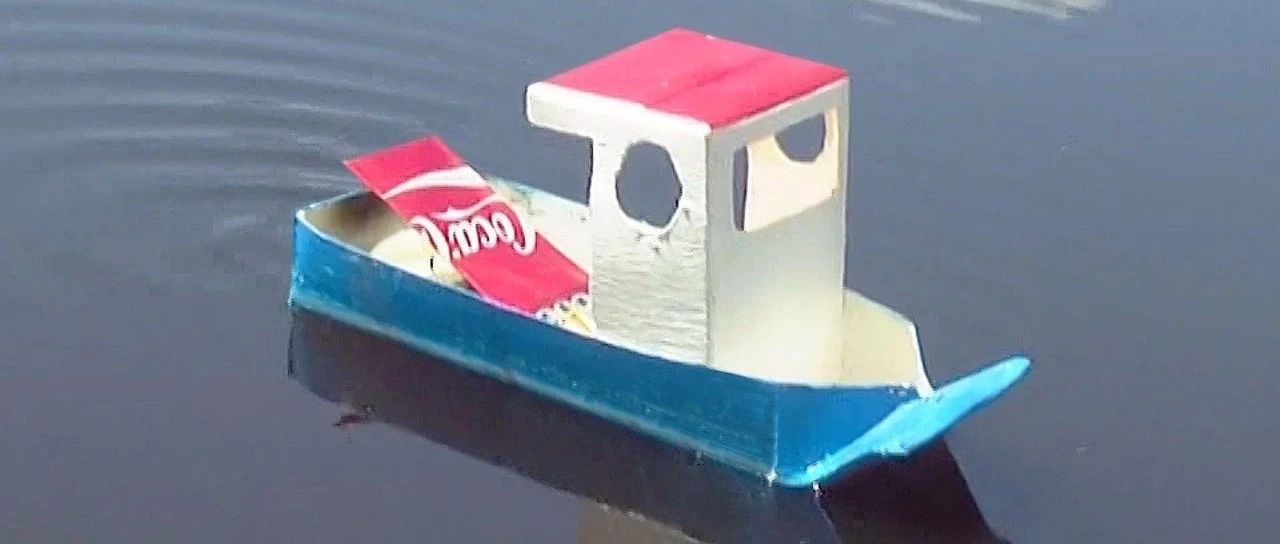
my version:
the key part of the steam boat is the "boiler" that produces steam. The heated part of the water needs to be kept watertight and can withstand the high temperature of candlelight. The quickest way to make this part is to use a thinner copper tube directly, just wrap it around a few circles and extend the opening to the stern of the boat (pictured below). The copper tube is heat-resistant enough and does not need additional sealing, so it is very convenient.
however, most people rarely have ready-made thin copper tubes (neither do I). The general alternative is to use cans to make "boilers". This effect is fine, but it is a lot of trouble to do it.
to make a can version of a steamship, the materials you need include aluminum cans, bendable straws, and glue to seal the seams. Generally need to plug the gap, hot melt adhesive is always the most convenient choice. But the hot melt glue will soften when heated, so you can't use it at this time. I chose epoxy glue (AB glue, the kind that the two ingredients mix together and solidify), and from other video tutorials, blue butyl glue (the kind that looks like plasticine and can be used to stick frames) seems to be a more convenient choice.
first, cut open the aluminum can, unfold it, and cut off a rectangle of 18cm*6cm. This step can be done with knives and scissors. Cans are actually easy to cut and don't require much effort, but be careful not to get scratched on the edges and don't let children operate them.
next, fold the rectangle into a shape similar to that of an envelope, as shown below:
flatten the hem on both sides with pliers.
next, the boiler will be fitted with two straws as steam pipes. In order to facilitate sealing, it is best to first glue between the two straws:
then add a ring of glue around it and stuff it into the "envelope" opening.
next, cut out the position circled by the following picture:
cut two slits on both sides of the straw on the other side, and then fold the back piece forward (as shown below): the small piece protruding from the front can also be cut off:
the structure of the heating part has been folded, but obviously this does not work. The most critical step is to find a way to seal all the cracks above. In the end, there should be no air leakage anywhere but two straws.
my sealing method is to paste the epoxy glue in all the gaps, and after curing, put it into a glass of water to detect leaks, blow slowly through the straw, and continue to plug the gap with glue where there are bubbles coming out. However, this method is really troublesome, similar to rubber mud-like blue butadiene glue should be much easier to use, in the process of folding, you can fill the seams with blue butadiene rubber.
after all the cracks have been plugged, it is more than half done. The next step is to prepare the hull of the boat. The hull of the boat shown at the beginning is made of half a milk box. As shown below, it can be cut in half vertically along the blue line:
in order to take the steam pipe, you need to dig a hole (with scissors) in the middle of the bottom of the ship (with scissors), as long as it is large enough for two straws to pass through. The relationship between the position of the "steam boiler" and the hull is as follows:
the straw at the bottom of the ship is fixed, seal the hole in the bottom of the ship (with hot melt glue at this time), and then cut off the excess straw in the stern.
next, as long as you inject water into the boiler (you can use a straw or syringe), put a candle of the right height at the bottom of the boiler, and the boat can move forward. If you can't walk, you need to check to see if there is a lack of seal, or maybe the candle flame is too far from the boiler. You can raise the candle or lower the can.
Steamboats can be put in bathtubs, basins and pools, but after all, there is an open fire on board, so don't let it go beyond human control. When the candle is lit, the metal part of the ship will become hot. Do not touch it with your hands.
Start showing off your stunning figure in our glitter bridesmaid dresses. Check out our gorgeous tailoring collections now!
Steam is also a kind of nostalgic romance, although it is much more convenient to use the motor _ (: steam "∠) _